The Rug Doctor Mighty Pro X3 is a professional-grade carpet and upholstery cleaner designed for deep cleaning. It offers efficient cleaning solutions for both home and commercial use, ensuring quick drying and thorough dirt removal. This machine is ideal for tackling large areas and stubborn stains, making it a reliable choice for detailed cleaning tasks.
1.1 Overview of the Machine and Its Purpose
The Rug Doctor Mighty Pro X3 is a professional-grade carpet and upholstery cleaner designed for deep cleaning tasks. It features a 3.9-gallon recovery tank, making it ideal for large cleaning jobs. This corded machine is built for efficiency, offering quick drying and thorough dirt removal. Its robust design and versatile functionality make it suitable for both carpets and upholstery, ensuring a professional-level clean in various settings.
1.2 Importance of Following the Instruction Manual
The Rug Doctor Mighty Pro X3 instruction manual is essential for safe and effective use. It provides critical safety precautions, operating guidelines, and maintenance tips to ensure optimal performance. Following the manual prevents potential damage to the machine or surfaces being cleaned. It also helps troubleshoot common issues and ensures warranty compliance, making it a vital resource for both professionals and homeowners.
Safety Precautions and Warnings
Always follow safety guidelines to avoid injury or damage. Keep the machine away from children, avoid hot surfaces, and ensure proper ventilation. Use correct cleaning modes for surfaces to prevent damage. Adhere to all warnings in the manual for safe and effective operation.
2.1 General Safety Guidelines
Always read the manual thoroughly before use to ensure safe operation. Avoid potential injury by keeping the machine out of reach of children. Prevent fire hazards by ensuring proper ventilation and avoiding hot surfaces. Use the machine on stable, flat surfaces and follow all safety warnings to minimize risks. Regularly inspect the machine for damage and ensure all parts are securely attached before operation. Adhere to these guidelines to maintain safety and effectiveness while cleaning.
2.2 Specific Warnings for Carpet and Upholstery Cleaning
When using the Mighty Pro X3, avoid cleaning non-colorfast fabrics or materials that may be damaged by water. Ensure the machine is set to the correct mode for the surface being cleaned. Test a small, inconspicuous area first to check for color bleeding or damage. Keep the machine moving to prevent excessive cleaning solution or suction from harming the carpet or upholstery. Regularly inspect the machine for damage before use.
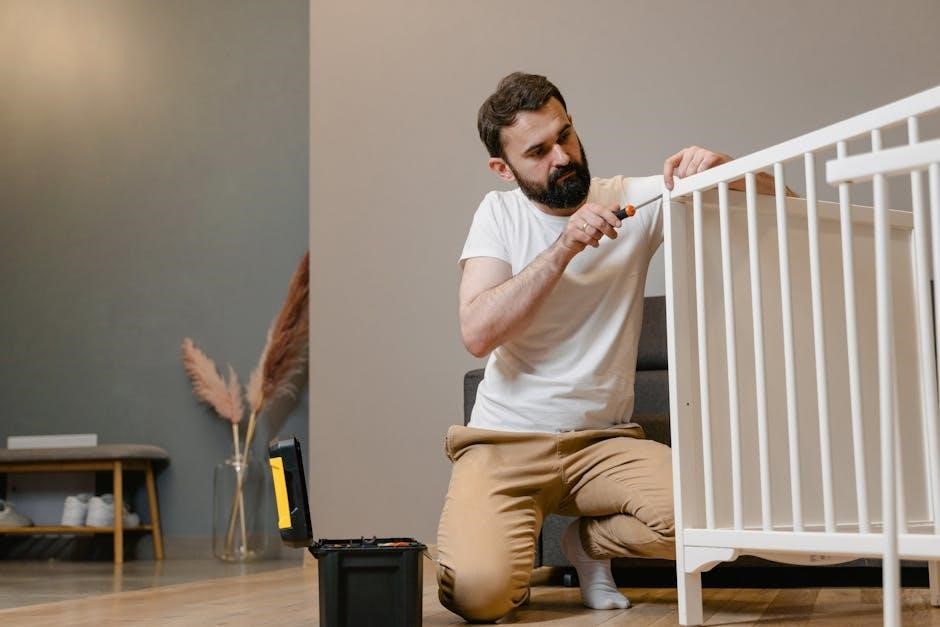
Machine Setup and Assembly
Unpack and inspect the Mighty Pro X3 for damage. Assemble the machine according to the manual’s instructions. Ensure all parts are securely attached before first use.
3.1 Unpacking and Initial Inspection
Begin by carefully unpacking the Rug Doctor Mighty Pro X3 from its box. Inspect the machine and all included accessories for any visible damage or defects. Ensure all components, such as the recovery tank, cleaning wand, and hoses, are present and in good condition. Refer to the manual’s packing list to verify completeness. Before proceeding with assembly, check for any signs of shipping damage to avoid operational issues later.
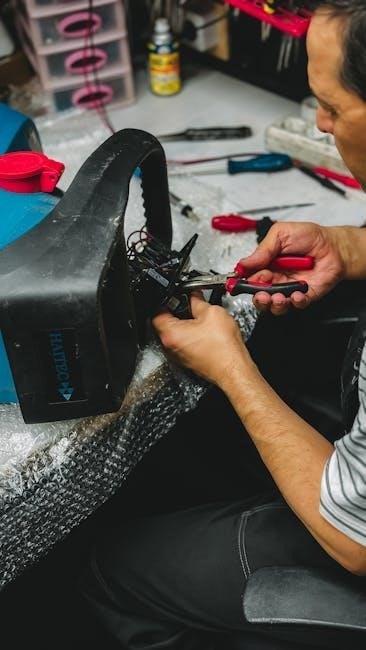
3.2 Assembly of the Mighty Pro X3
Attach the handle to the main unit by aligning the clips and securing it firmly. Connect the hose to the machine and ensure it is tightly fitted. Install the recovery tank by sliding it into place and locking it with the provided clips. Refer to the manual for specific diagrams to guide the assembly process. Ensure all parts are securely attached to avoid leaks or malfunctions during operation.

Operating Instructions
Press the Vacuum On switch to start the machine. While holding the red spray button, slowly pull the machine forward for effective cleaning. Follow mode settings.
4.1 Preparing the Machine for Use
Before operating the Rug Doctor Mighty Pro X3, ensure all components are properly assembled and inspected. Fill the clean water tank and check the recovery tank capacity. Place the machine on a flat surface and ensure the mode switch is set to the desired cleaning option. Always refer to the manual for specific preparation steps to ensure safe and effective operation. Proper preparation is key to achieving optimal cleaning results.
4.2 Selecting the Correct Cleaning Mode
Choose the appropriate cleaning mode based on the surface type; For carpets, ensure the mode switch is set to the CARPET position. For upholstery, select the corresponding mode or use the handheld attachment. Always refer to the manual for specific guidance on mode selection. Proper mode selection ensures effective cleaning and prevents damage to surfaces. Adjust settings as needed for different fabric types or stain severity to achieve the best results safely and efficiently.
4.3 Starting the Cleaning Process
Press the Vacuum On switch to activate the machine. While holding the red spray button on the handle, slowly pull the machine forward to apply cleaning solution. Ensure consistent overlap of cleaning strokes for even coverage. For best results, work in small, manageable sections and maintain a steady pace. Adjust your technique based on soil level and fabric type to optimize cleaning efficiency and prevent over-saturation. Always follow the manual’s guidance for optimal performance and surface protection.
Cleaning Techniques and Tips
Discover expert techniques for effective carpet and upholstery cleaning. Use deep cleaning modes for stains, and ensure quick drying for professional results every time.
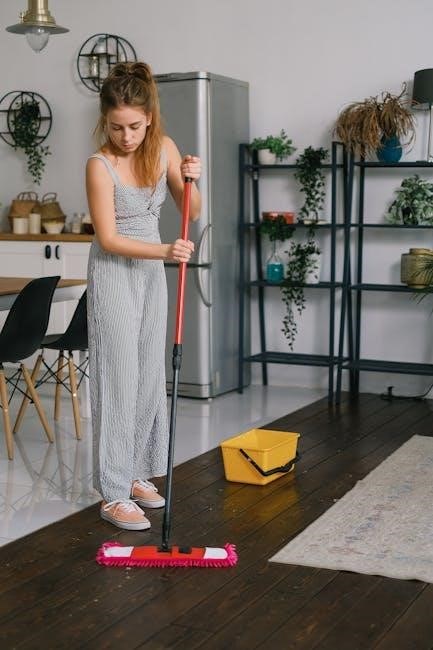
5.1 Effective Carpet Cleaning Methods
For deep cleaning carpets, use the Rug Doctor Mighty Pro X3 with precision. Pre-treat stains, apply cleaning solution evenly, and extract thoroughly. Utilize the machine’s powerful suction and dual brushes for optimal results. Always follow the manual’s guidance for maintaining proper water levels and cleaning modes. Regularly empty the 3.9-gallon recovery tank to ensure efficiency. By adhering to these methods, you achieve professional-grade cleanliness and extend carpet longevity.
5.2 Upholstery Cleaning Best Practices
When cleaning upholstery with the Rug Doctor Mighty Pro X3, always test a small, inconspicuous area first to ensure fabric compatibility. Use the provided upholstery attachment for precise cleaning. Avoid over-saturating the fabric to prevent damage. Apply cleaning solution sparingly and extract thoroughly using the machine’s powerful suction. For delicate materials, reduce solution flow and avoid excessive moisture. Follow the manual’s specific guidelines for upholstery cleaning to achieve optimal results safely.
Maintenance and Troubleshooting
Regularly clean filters and check for blockages to ensure optimal performance. Lubricate moving parts as recommended. For troubleshooting, refer to the manual for solutions to common issues like clogged hoses or malfunctioning switches. Proper maintenance extends the machine’s lifespan and ensures efficient cleaning results.
6.1 Regular Maintenance Procedures
Regular maintenance ensures the Rug Doctor Mighty Pro X3 operates efficiently. Clean or replace filters after each use to prevent clogs. Check and empty the recovery tank frequently to avoid overflow. Lubricate moving parts periodically to reduce wear. Inspect hoses for kinks or blockages and address them promptly. Regularly clean the brush and spray nozzle to maintain performance. Following these steps extends the machine’s lifespan and ensures optimal cleaning results.
6.2 Common Issues and Solutions
Common issues with the Rug Doctor Mighty Pro X3 include clogged spray nozzles, empty solution tanks, or malfunctioning brushes. To resolve these, clean the nozzle with a small brush, refill the tank as needed, and ensure the brush is free from debris. If the machine loses suction, check for blockages in the hoses or verify the belt is properly aligned. Regular maintenance and inspections can prevent these issues and ensure smooth operation.

Accessories and Additional Features
The Rug Doctor Mighty Pro X3 comes with various accessories like upholstery and crevice tools. Optional attachments include pet stain removers and hard floor cleaning kits for enhanced versatility.
7.1 Included Accessories
The Rug Doctor Mighty Pro X3 comes with essential accessories to enhance cleaning efficiency. It includes an upholstery tool for cleaning furniture, a crevice tool for tight spaces, and a pet stain remover for tackling tough stains. The machine also features a large-capacity tank for extended cleaning sessions. Additional items like a carpet cleaning solution and a detailed instruction manual are provided to ensure optimal use. These accessories make it versatile for various cleaning tasks.
7.2 Optional Attachments for Enhanced Cleaning
Optional attachments for the Rug Doctor Mighty Pro X3 include a hard floor cleaning kit, an extended hose, and a specialized pet hair tool; These attachments expand the machine’s versatility, allowing users to clean hard surfaces, upholstery, and tight spaces more effectively. Additional brushes and cleaning solutions can also be purchased to tackle specific cleaning challenges, ensuring a deeper and more thorough clean for various surfaces and stains.

Warranty and Support Information
The Rug Doctor Mighty Pro X3 comes with a 1-year warranty, covering parts and labor. Customer support is available for inquiries, repairs, and troubleshooting, ensuring optimal performance and user satisfaction.
8.1 Warranty Details
The Rug Doctor Mighty Pro X3 is backed by a 1-year warranty, covering parts and labor against manufacturing defects. This warranty is non-transferable and applies to the original purchaser. Regular maintenance, as outlined in the manual, is required to maintain warranty validity. For detailed terms and conditions, refer to the warranty section in the instruction manual or contact customer support.
8.2 Customer Support and Service Options
Rug Doctor offers comprehensive customer support for the Mighty Pro X3, including troubleshooting guides and maintenance tips. Users can access detailed resources through the official website or by contacting customer service. The machine also comes with a downloadable manual, providing step-by-step instructions and repair guides. For additional assistance, diagrams and video tutorials are available, ensuring optimal performance and addressing any operational queries effectively.

Environmental and Storage Considerations
Store the Rug Doctor Mighty Pro X3 in a dry, protected area. Regularly clean and maintain the machine to ensure longevity and eco-friendly operation. Always dispose of waste water properly and follow environmental guidelines for cleaning solutions. Proper storage helps preserve the machine’s efficiency and reduces its environmental impact over time.
9.1 Proper Storage of the Machine
Store the Rug Doctor Mighty Pro X3 in a dry, protected area to prevent damage. Ensure the machine is clean and free of debris before storage. Drain the recovery tank and rinse it thoroughly. Check for any damage or wear and address it before storing. Keep the machine in an upright position to avoid leakage. Avoid storing in extreme temperatures or humid environments to maintain performance and longevity.
9.2 Eco-Friendly Cleaning Practices
Use eco-friendly cleaning solutions to minimize environmental impact. Opt for biodegradable detergents and avoid harsh chemicals. Regularly maintain the machine to ensure efficiency and reduce water usage. Properly dispose of waste water and cleaning solutions. For best results, clean in a well-ventilated area to reduce fumes. Follow the manual’s guidelines for energy-efficient operation. By adopting these practices, you can achieve a cleaner environment while preserving the machine’s performance and longevity.
The Rug Doctor Mighty Pro X3 is a powerful, professional-grade cleaner designed for deep cleaning and quick drying. Follow guidelines for optimal results and environmental care. This machine is a top choice for thorough cleaning needs.
10.1 Summary of Key Points
The Rug Doctor Mighty Pro X3 is a professional-grade carpet and upholstery cleaner designed for deep cleaning and quick drying. It is ideal for large areas and stubborn stains, offering efficient solutions for both home and commercial use. Proper maintenance, such as regular checks and eco-friendly practices, ensures longevity. Following the manual’s guidelines is essential for optimal performance and safety. This machine is a top choice for detailed cleaning tasks.
10.2 Final Tips for Optimal Use
Always follow the instruction manual for safe and effective cleaning. Regularly maintain the machine to ensure peak performance. Use eco-friendly cleaning solutions to minimize environmental impact. Store the device properly to prolong its lifespan. Select the correct cleaning mode for the task at hand. For best results, clean in slow, overlapping passes and avoid over-saturating surfaces. Adhere to safety guidelines to prevent accidents and ensure efficient cleaning outcomes.