Valve guide replacement is a critical engine maintenance task that ensures proper valve operation and prevents oil leakage. Replacing worn guides restores engine efficiency and performance.
Understanding the Importance of Valve Guides in Engine Performance
Valve guides play a crucial role in maintaining engine efficiency by ensuring proper valve operation. They help seal the combustion chamber‚ preventing oil from entering and escaping through the exhaust. Worn guides can lead to increased oil consumption‚ blue exhaust smoke‚ and engine misfires‚ all of which degrade performance. Properly functioning guides ensure valves open and close precisely‚ maintaining compression and efficient combustion. This directly impacts engine power‚ fuel efficiency‚ and longevity. Neglecting worn guides can lead to costly damage‚ making their replacement essential for sustained engine health and optimal performance. Regular inspection and timely replacement are vital to prevent these issues and ensure smooth engine operation.
Common Symptoms of Worn Valve Guides
Worn valve guides often manifest through distinct symptoms that can signal the need for replacement. One of the most noticeable signs is excessive oil consumption‚ as worn guides allow engine oil to seep into the combustion chamber. This can result in blue smoke emanating from the exhaust‚ indicating oil is being burned alongside fuel. Additionally‚ engine misfires may occur due to improper valve sealing‚ leading to reduced power and efficiency. Increased emissions and decreased fuel economy are also common consequences. In severe cases‚ damaged guides can cause valves to become misaligned‚ potentially leading to further engine damage. Recognizing these symptoms early is crucial to preventing more extensive and costly repairs down the line.

Identifying Worn Valve Guides
Worn valve guides can be identified through visible wear‚ excessive play‚ or misalignment. Inspecting for these signs ensures accurate diagnosis before replacement begins.
Signs of Valve Guide Deterioration
Signs of valve guide deterioration include excessive oil consumption‚ blue exhaust smoke‚ and engine misfires. These issues arise as worn guides allow oil to enter the combustion chamber.
Diagnosing Oil Consumption and Exhaust Smoke
Diagnosing oil consumption and exhaust smoke is crucial for identifying worn valve guides. Increased oil use often indicates oil seeping past worn guides‚ while blue smoke from the exhaust suggests oil burning in the combustion chamber. These symptoms‚ along with engine misfires and decreased performance‚ signal guide deterioration. To confirm‚ technicians may perform compression tests or leak-down tests to check for internal engine leaks. Specialized tools‚ such as drifts and reamers‚ are essential for accurate diagnosis. Addressing these issues early prevents further engine damage and ensures optimal performance. Regular inspections and timely replacements are vital for maintaining engine efficiency and reliability.
Recognizing Engine Misfires Related to Valve Guides
Engine misfires can often be traced to issues with valve guides‚ as worn or damaged guides disrupt proper valve function. When guides are compromised‚ valves may not seat correctly‚ leading to incomplete combustion. This results in misfires‚ which can cause rough engine operation‚ reduced power‚ and poor fuel efficiency. Drivers may notice a stuttering or shaking sensation while driving‚ accompanied by a “check engine” light. Diagnostic tools‚ such as OBD-II scanners‚ can identify misfire codes linked to specific cylinders. Addressing these issues promptly is essential to prevent further damage to the engine‚ such as catalytic converter failure or increased oil consumption. Regular inspections and timely guide replacements help maintain smooth engine performance and reliability.
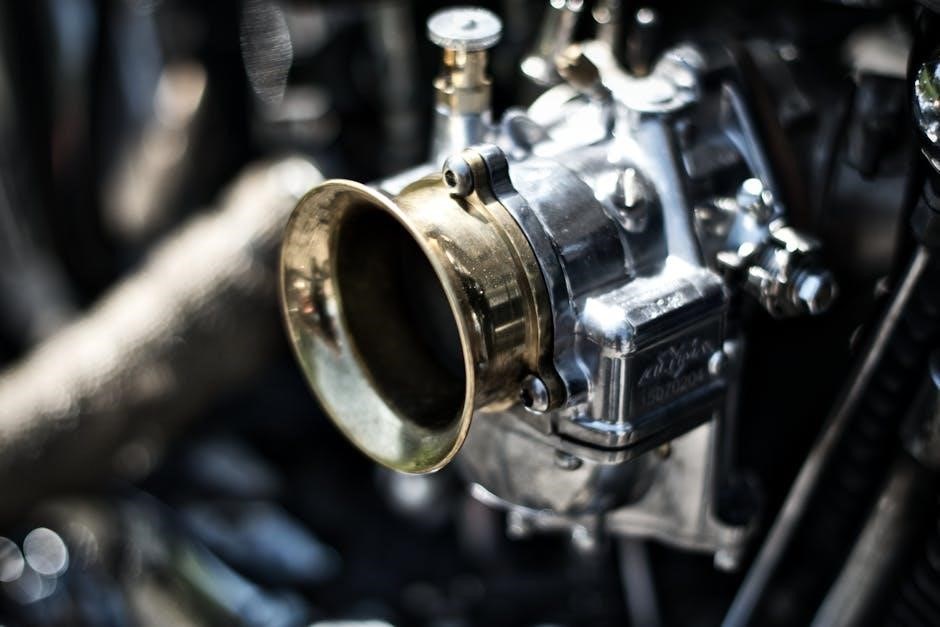
Methods for Replacing Valve Guides
Valve guide replacement involves various techniques to restore proper engine function. Methods include knurling‚ installing thin-wall bronze liners‚ or replacing integral guides with false ones.

Overview of Valve Guide Replacement Techniques
Valve guide replacement techniques vary‚ each offering distinct advantages. Knurling is a cost-effective method that uses a specialized tool to reshape the guide‚ while thin-wall bronze liners provide durability and are installed for precise fitment. Replacing insert guides involves removing the old ones and pressing in new units‚ ensuring proper alignment. For engines with oversize valve stems‚ modifying the guides is essential. Integral guides can be swapped with false guides to simplify future maintenance. BronzeWall 2 coil-type liners are another option‚ offering easy installation and long-term performance without machining. Each method requires specialized tools and precise steps to ensure optimal engine operation and prevent future issues.
Knurling as a Repair Method
Knurling is a cost-effective repair method for valve guides that avoids the need for full replacement. It involves using a specialized knurling tool to reshape the worn guide‚ creating a tighter fit around the valve stem. This technique is ideal for minor wear and can extend the life of the guide. The knurling process generates a textured surface‚ enhancing grip and reducing oil leakage. It is less invasive compared to other methods‚ requiring minimal disassembly of the cylinder head. While knurling is durable‚ it is not suitable for severely damaged guides. This method is favored for its simplicity and ability to restore proper valve operation without extensive machining or replacement.
Installing Thin-Wall Bronze Guide Liners
Installing thin-wall bronze guide liners is a reliable method for repairing worn valve guides. This technique involves pressing out the old guide and inserting a precision-fit bronze liner. Bronze liners are chosen for their durability and ability to reduce wear on the valve stem. The process requires precise measurement to ensure the liner is correctly sized for the guide bore. Once installed‚ the liner is typically reamed to match the valve stem diameter‚ ensuring proper fitment and smooth operation. This method is popular for its balance of cost-effectiveness and long-term performance. It is widely used in both automotive and industrial engines to restore valve guide function without extensive cylinder head modifications.
Replacing Insert Guides
Replacing insert guides is a straightforward process that involves removing the worn-out guide from the cylinder head and installing a new one. Insert guides are typically pressed into the head and can be replaced individually‚ making this method less invasive than other techniques. The old guide is carefully pressed out using specialized tools‚ and the new guide is aligned and pressed into place. This method is ideal for engines with minimal damage‚ as it avoids the need for extensive machining. Proper alignment and seating are critical to ensure the guide functions correctly. Once installed‚ the guide is reamed to fit the valve stem precisely‚ restoring proper engine performance and preventing oil leakage. This approach is both cost-effective and time-efficient compared to more complex replacement methods.
Modifying Valve Guides for Oversize Valve Stems
Modifying valve guides for oversize valve stems is a specialized repair method used when the valve stem diameter exceeds the original guide’s capacity. This process involves machining the existing guide to accommodate the larger stem‚ ensuring proper fitment and functionality. Specialized tools are required to enlarge the guide’s inner diameter while maintaining precise alignment. The modification must be done with extreme care to avoid damaging the surrounding material or the cylinder head. Proper measurement and alignment are critical to prevent excessive play or binding of the valve stem. This method is often employed in high-performance engines or when original guides are severely worn. It ensures smooth engine operation and prevents potential damage to the valve or seat. Expert mechanics typically perform this procedure due to its complexity and precision requirements.
Replacing Integral Guides with False Guides
Replacing integral guides with false guides is a repair method used when the original guides are severely damaged or cannot be repaired. False guides are standalone components installed into the engine’s cylinder head‚ offering a more straightforward replacement compared to modifying or reaming integral guides. This method is particularly useful when the original guides are cracked‚ worn beyond repair‚ or improperly sized. Specialized tools‚ such as guide installers‚ are required to ensure proper fitment and alignment. The process involves removing the damaged integral guide‚ preparing the bore‚ and pressing in the false guide. Proper alignment and precise fitment are critical to prevent valve stem misalignment and ensure smooth engine operation. This method is often preferred for its simplicity and effectiveness in restoring valve guide functionality.
Installing BronzeWall 2 Coil-Type Liners
BronzeWall 2 Coil-Type Liners are a modern solution for valve guide replacement‚ offering enhanced durability and resistance to wear. These liners are designed to be installed directly into the worn guide bore without requiring extensive machining. The process involves compressing the coil and inserting it into the bore‚ where it expands to fit snugly. This method is particularly advantageous for its simplicity and cost-effectiveness‚ eliminating the need for specialized tools. BronzeWall 2 liners are ideal for high-performance engines‚ providing improved heat dissipation and resistance to excessive valve stem wear. They are a popular choice for engine rebuilders seeking a reliable‚ long-lasting repair solution.
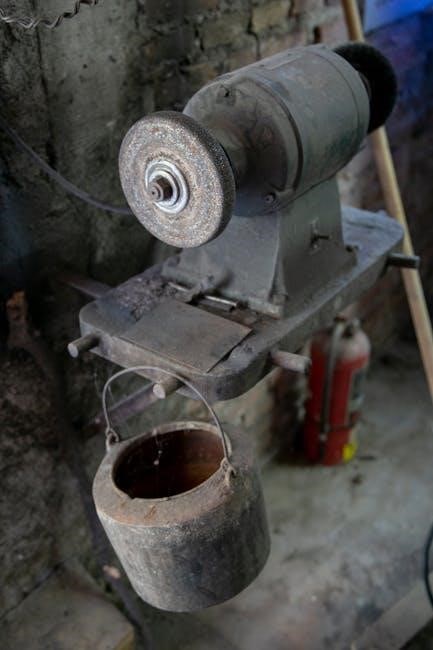
Tools and Equipment Needed
Specialized tools like drifts and reamers are essential for valve guide replacement. Drifts remove old guides‚ while reamers ensure proper fitment of new ones.
Specialized Tools for Valve Guide Replacement
Replacing valve guides requires specific tools to ensure accuracy and safety. Drifts are used to carefully remove old guides without damaging the engine. Reamers are essential for resizing the guide bore to fit new guides precisely. A valve guide driver is needed to install the new guides properly. Additionally‚ tools like valve guide knurling or bronze liner installation tools may be necessary for certain repair methods. These tools ensure proper alignment and fitment‚ preventing further engine damage. Using the right tools is critical for a successful replacement and maintaining engine performance. Always use high-quality‚ precision tools designed for this task.
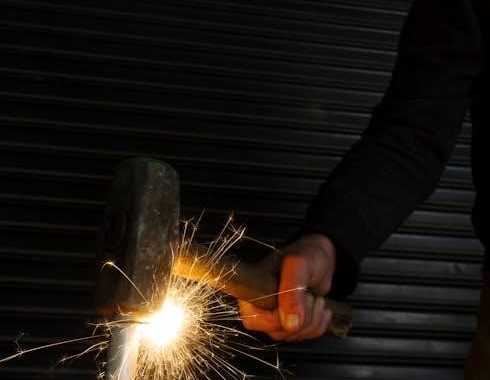
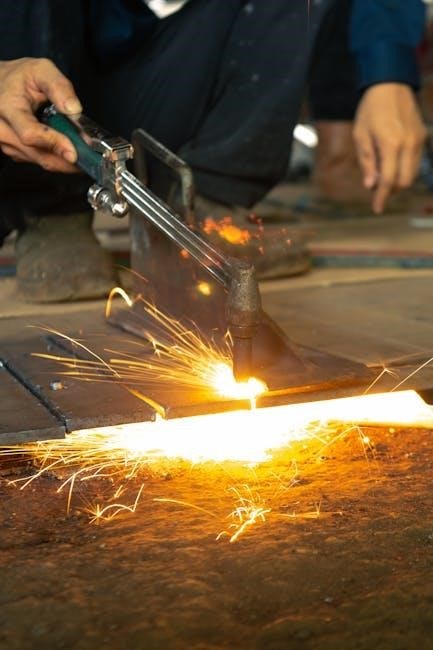
Drifts and Their Role in Removing Old Guides
Drifts are essential tools for safely removing worn valve guides. These tools are designed to apply even pressure around the guide‚ preventing damage to the engine. By carefully aligning the drift with the guide‚ technicians can avoid costly repairs to surrounding components. The gradual tapping process ensures the old guide is loosened and removed without causing damage. Proper use of drifts minimizes the risk of engine damage‚ making them indispensable for this process. Always ensure drifts are the correct size for the guides being removed. This step is crucial for a successful valve guide replacement. Using drifts is the preferred method due to their precision and effectiveness. Their role is vital in maintaining engine integrity during the replacement process.
Reamers and Their Importance in Proper Fitment
Reamers play a critical role in ensuring proper fitment of new valve guides. After pressing in the guides‚ reaming is necessary to achieve the correct diameter and alignment. This process ensures the valve stem moves smoothly within the guide‚ preventing binding or excessive play. Accurate reaming is essential for maintaining proper valve operation and engine performance. Improper fitment can lead to issues like oil leakage or engine misfires. Using the correct reamer size guarantees precise alignment‚ ensuring the valve guide functions as intended. This step is crucial for the longevity and efficiency of the engine. Reamers are specialized tools designed specifically for this purpose‚ making them indispensable in valve guide replacement. Proper reaming ensures a smooth‚ efficient engine operation.

Step-by-Step Replacement Process
The process involves removing the cylinder head‚ pressing out old guides‚ and installing new ones. Reaming ensures proper fitment and alignment for smooth valve operation.
Removing the Cylinder Head
Removing the cylinder head is the first step in accessing the valve guides. Begin by draining the engine’s cooling system and disconnecting the battery. Next‚ remove the air intake ducts‚ fuel lines‚ and any electrical connections attached to the cylinder head; Use a wrench or socket to loosen the head bolts in a star pattern to avoid warping the head. Once the bolts are removed‚ carefully lift the cylinder head using a head puller or hoist. Place the head on a clean‚ flat surface for disassembly. Be cautious of the valve train components‚ as they can be fragile. Documenting the location of each part ensures proper reassembly later. Inspect the head for any signs of damage or wear.
Pressing Out Old Valve Guides
Pressing out old valve guides requires precision and the right tools. Start by positioning the cylinder head on a stable surface. Use a valve guide driver or drift to align with the guide. Apply a press or slide hammer to gently push the guide out. Ensure the tool is centered to avoid damaging the head. Work slowly‚ applying steady force to prevent the guide from breaking. Once removed‚ inspect the bore for any remaining material or debris. Clean the area thoroughly before installing the new guide. Proper alignment and careful pressing are crucial to avoid costly repairs. This step ensures a clean slate for the new valve guide installation.
Installing New Valve Guides
Installing new valve guides is a precise process that requires attention to detail. Begin by ensuring the bore is clean and free from debris. Next‚ apply a thin layer of lubricant or assembly lube to the new guide. Position the guide in the bore‚ aligning it with the center. Use a guide installer or driver to press it in place‚ applying steady pressure to avoid tilting. Once seated‚ verify the guide’s alignment and depth using a micrometer or depth gauge. Proper installation ensures smooth valve operation and prevents future issues. This step is crucial for maintaining engine efficiency and longevity.
Reaming and Aligning the New Guides
Reaming and aligning the new valve guides is essential for ensuring they fit perfectly and function as intended. After installing the new guides‚ use a reamer to achieve the correct diameter and alignment. This step ensures the valve stem moves smoothly within the guide without binding or excessive play. Proper reaming prevents wear and tear on the valve and guide‚ improving engine performance. Alignment is critical to maintain proper valve operation and prevent oil leakage. Specialized reamers are designed for this task‚ ensuring accuracy and consistency. Once reamed‚ inspect the guides to confirm they meet specifications. This step guarantees optimal engine efficiency and longevity.
Post-Installation Checks
After installing new valve guides‚ ensure proper fitment and alignment. Test for oil leaks and verify engine performance to confirm successful replacement and optimal function.

Ensuring Proper Valve Stem Fitment
Proper valve stem fitment is essential for optimal engine performance. After replacing the valve guides‚ inspect the valve stem-to-guide clearance using a dial indicator. Excessive play or binding indicates improper alignment. Ensure the valve stem moves smoothly without resistance. If the fitment is too tight‚ it may cause increased wear‚ while excessive clearance can lead to oil leakage and reduced engine efficiency. Accurate reaming during installation ensures the correct fitment‚ preventing issues like engine misfires or poor sealing. Proper fitment guarantees smooth engine operation‚ reduces wear on components‚ and maintains overall engine efficiency. Always refer to manufacturer specifications for precise measurements.
Testing for Oil Leaks and Engine Performance
After installing new valve guides‚ it’s crucial to test for oil leaks and verify engine performance. Start by visually inspecting the valve area for any signs of leakage. Run the engine and check for blue smoke from the exhaust‚ which indicates oil burning due to improper sealing. Perform a leak-down test to ensure valves are sealing correctly. Monitor engine performance for misfires or reduced power‚ which could signal issues with valve guide installation; Additionally‚ check oil levels regularly to detect any increased consumption. Proper testing ensures the repair was successful and maintains engine efficiency. Addressing any leaks or performance issues promptly prevents further damage.
Proper valve guide installation is essential for maintaining engine efficiency‚ preventing wear‚ and ensuring smooth operation. It guarantees longevity and optimal performance.
Importance of Proper Valve Guide Installation
Proper valve guide installation is crucial for ensuring optimal engine performance and efficiency. Improperly installed guides can lead to oil leakage‚ engine misfires‚ and increased wear on valve train components. Accurate alignment and fitment prevent excessive play or binding‚ which can cause premature wear and potential engine damage. Specialized tools and precise techniques are essential to guarantee a secure and precise fit. Proper installation also ensures smooth operation‚ reduces the risk of future repairs‚ and maintains the overall integrity of the engine. By adhering to best practices‚ technicians can ensure long-term reliability and peak performance of the engine.
Final Tips for Maintaining Engine Efficiency
Regular inspections and timely replacements of worn valve guides are essential for maintaining engine efficiency. Always use high-quality replacement parts and follow precise installation techniques to ensure optimal performance. Proper tool usage‚ such as drifts and reamers‚ guarantees accurate fitment and alignment. After installation‚ perform thorough checks for oil leaks and test engine performance under various conditions. Additionally‚ maintaining clean engine components and using the correct lubricants can extend the life of valve guides and other engine parts. By adhering to these practices‚ you can ensure smoother engine operation‚ reduce oil consumption‚ and prevent premature wear on critical components. Consistent maintenance will help sustain peak engine efficiency and reliability over time.