Proper setup is crucial for optimal playability and tone․ This guide provides a comprehensive approach to configuring your Fender Stratocaster, ensuring it performs at its best․ Setups are unique to each guitar and player, making customization essential for achieving desired results․ Whether you’re a beginner or an experienced musician, this guide will help you unlock your Stratocaster’s full potential․
1․1 Understanding the Importance of Proper Setup
Proper setup ensures optimal playability and tone, addressing issues like string height, intonation, and neck alignment; A well-configured guitar enhances performance and comfort, preventing common problems such as fret buzz or tuning instability․ Understanding these adjustments is essential for maintaining your Stratocaster’s sound quality and playability, making it a cornerstone of guitar maintenance and customization․
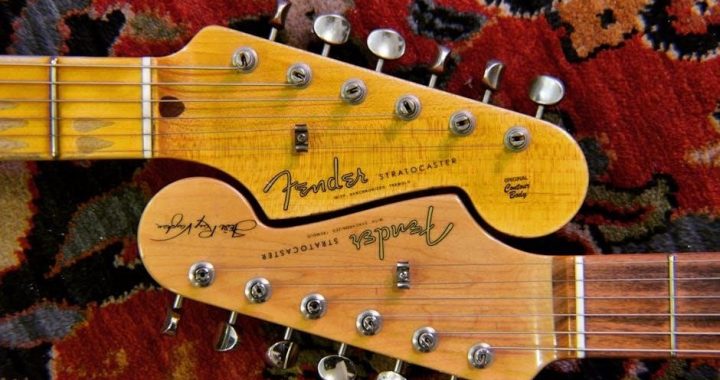
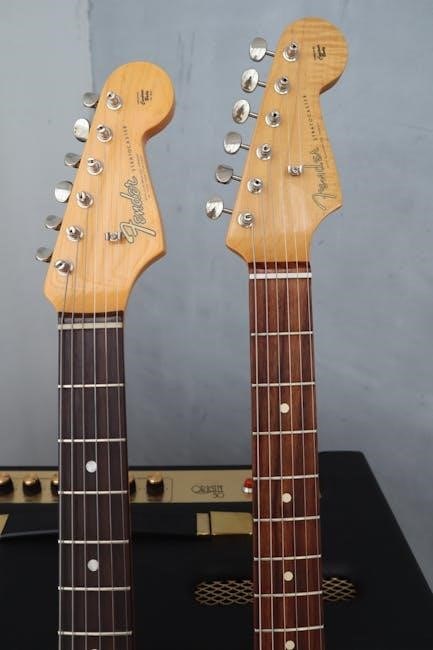
1․2 Overview of the Stratocaster’s Components
The Fender Stratocaster features a contoured body, bolt-on neck, fretboard, bridge, tremolo system, pickups, and electronics․ The bridge and tremolo affect playability and tuning stability, while pickups and electronics shape the tone․ Understanding these components is vital for effective setup, as each part plays a role in the guitar’s performance and sound quality, making them essential for customization and maintenance․
Essential Tools and Materials Needed
Key tools include screwdrivers, a string winder, tuner, and guitar pick․ Materials like strings, a tremolo arm, and a guitar cable are also necessary for setup․
2․1 Basic Tools for Stratocaster Setup
Essential tools for a Stratocaster setup include screwdrivers (Phillips and flathead), a string winder, clippers, a tuner, and a guitar pick․ A tremolo arm and allen wrench are also useful․ These tools ensure proper adjustments, from bridge alignment to truss rod tweaks, guaranteeing optimal playability and tone․ Having these on hand streamlines the setup process and prevents potential damage to the instrument․
2․2 Recommended String Gauges and Accessories
For optimal performance, choose string gauges that suit your playing style and tone preferences․ Standard gauges like 9-42 are ideal for versatility, while heavier sets (10-46) enhance sustain․ Lighter gauges (8-38) facilitate easier bending․ Accessories like a string winder, tuner, and guitar pick are essential for smooth setup and tuning․ These tools ensure accuracy and efficiency when adjusting your Stratocaster to achieve the desired sound and playability․

String Replacement and Initial Setup
Replacing strings and setting up your Stratocaster properly ensures optimal playability and tone․ This process involves removing old strings, installing new ones, and stretching them for tuning stability․
3․1 Step-by-Step Guide to Changing Strings
Changing strings on your Stratocaster involves removing the old strings, cutting new ones to length, and winding them properly․ Start by removing the old strings and cleaning the bridge and tuning pegs․ Cut the new strings 2-3 inches longer than needed․ Wind the string clockwise around the tuner, leaving a small gap․ Stretch the strings firmly to ensure tuning stability and playability․
3․2 Stretching and Tuning Strings for Stability
Stretching strings ensures stability and prevents tuning issues․ After installing new strings, tug each string gently away from the fretboard to eliminate slack․ Tune the guitar using a tuner, starting from the lowest string․ Repeat stretching and tuning until the strings hold pitch consistently; This process ensures optimal stability and playability, especially with the Stratocaster’s tremolo system․

Adjusting the Bridge and Tremolo System
Adjusting the bridge height ensures optimal playability․ Set the bridge level with the pickguard, approximately 1․5mm․ Fine-tune the tremolo for smooth operation and tuning stability․
4․1 Setting the Bridge Height for Optimal Playability
Proper bridge height adjustment is essential for playability․ Set the bridge front edge level with the pickguard, approximately 1․5mm․ This prevents damage to the finish and ensures smooth operation․ Adjust the screws evenly, then check string height and action․ Use a ruler or calipers for accuracy․ Proper setup ensures optimal performance and prevents potential issues․

4․2 Fine-Tuning the Tremolo for Smooth Operation
Adjust the tremolo system for smooth operation by balancing spring tension and string pull․ Set the claw screws to Fender’s recommended specifications or adjust to your preference․ Ensure the tremolo arm fits snugly and moves freely․ Test with string bends and dives to confirm stability․ Avoid over-tightening, as it can restrict movement․ Proper setup ensures the tremolo functions seamlessly, maintaining tuning stability and playability․

Neck Setup and Alignment
Proper neck alignment ensures optimal playability and tone․ Adjust the truss rod to achieve the correct neck relief, then check the fretboard and nut alignment for accuracy․
5․1 Truss Rod Adjustment for Proper Neck Relief
Adjusting the truss rod is essential for achieving proper neck relief, which ensures smooth playability and prevents fret buzz or string rattling․ Turn the truss rod clockwise to straighten the neck or counterclockwise to add relief․ Use a straightedge to measure the neck relief at the 7th fret; aim for 0․010″ to 0․015″ of concave curvature․ Make small adjustments and check tuning stability after each tweak․ This process ensures the neck aligns correctly with the strings, providing optimal performance and comfort for the player․ Regular adjustments may be needed due to environmental changes or string gauge modifications․
5․2 Ensuring Correct Fretboard and Nut Alignment
Proper fretboard and nut alignment is vital for consistent playability and tuning accuracy․ Check the nut slots to ensure they are correctly cut for your string gauges, with the bottom of the slots just touching the strings․ Use a ruler or precision tool to measure string height at the nut, aiming for 0․015″ to 0․020″ for the low E and 0․010″ to 0․015″ for the high E․ Ensure the nut is aligned with the fretboard and bridge, as misalignment can cause tuning issues and uneven playability․ Adjustments may require filing or replacing the nut․ Proper alignment enhances tone clarity and reduces wear on the guitar․
Action and String Height Adjustment
Proper action and string height adjustment ensures optimal playability․ Measure and set string height at the bridge and nut for a balanced, buzz-free setup․
6․1 Measuring and Setting String Height at the Bridge
Properly measuring and setting string height at the bridge is essential for optimal playability․ Use a ruler or string action gauge to measure the height at the 12th fret․ Adjust the bridge screws to achieve the recommended height, typically 4/64″ for the low E string and 3/64″ for the high E string․ Ensure the bridge is parallel to the body for even string height and smooth performance․
6․2 Adjusting Action at the Nut for Smooth Playing
Adjusting the action at the nut is critical for smooth playing․ Use a nut slot file to lower or raise the slots to achieve the desired string height․ Measure the height using a gauge, aiming for 0․015″ for the low E and 0․010″ for the high E․ Ensure the neck is straight and strings are properly seated to avoid buzzing or fretting issues․ Proper adjustment ensures optimal playability and tone․
Pickup and Electronics Setup
Optimize your Stratocaster’s tone by adjusting pickups and electronics․ Ensure pickups are balanced for consistent sound across all settings․ Fine-tune controls for precise tonal adjustments, enhancing overall performance․
7․1 Adjusting Pickup Heights for Balanced Tone
Adjusting pickup heights ensures a balanced tone and prevents excessive magnetic pull on strings․ Use a screwdriver to raise or lower pickups, measuring 1․5-2mm from the strings․ Proper height balances output and clarity, avoiding muddiness or harshness․ Test each pickup’s tone across settings to ensure consistency and optimal performance․
7․2 Fine-Tuning the Electronics for Optimal Performance
Fine-tuning the electronics involves ensuring all components work harmoniously․ Check the wiring for any issues and clean the output jack for clear signal transfer․ Adjust the tone and volume pots to ensure smooth operation and even response․ For optimal performance, consider upgrading to high-quality capacitors or pots if needed․ Proper shielding can also minimize hum and noise, enhancing overall clarity and sustain․
Intonation and Tuning Precision
Proper intonation ensures notes are in tune across the fretboard, while precise tuning delivers consistent pitch accuracy․ Adjusting the bridge and tremolo system enhances tuning stability and playability․
8․1 Understanding and Adjusting Intonation
Intonation ensures each note plays in tune across the fretboard․ Adjusting the bridge saddles is key to achieving accurate pitch․ Use a screwdriver to move saddles forward or backward, depending on whether notes are sharp or flat․ Measure string length at the 12th fret and compare it to the nut to ensure proper alignment․ Changing strings before adjustment is recommended for consistent results․ This process guarantees precise tuning and optimal playability․
8․2 Ensuring Accurate Tuning Across the Fretboard
Accurate tuning is essential for consistent playability․ Use a tuner to check each string at the 12th fret and ensure it matches the octave interval․ Replace old strings, as worn strings can cause tuning inconsistencies․ Adjust the bridge saddles if necessary, and verify alignment at the nut․ Proper intonation and string height adjustments will help maintain precise tuning across the fretboard, ensuring every note rings true and clear․
Final Check and Troubleshooting
Perform a final inspection to ensure all adjustments are correct․ Test playability, tone, and tuning stability․ Address any buzzing, rattling, or tuning issues promptly for optimal performance․
9․1 Performing a Final Playability and Tone Check
After completing the setup, play the guitar thoroughly to ensure smooth action and consistent tone․ Check for any buzzing or rattling sounds․ Verify that all notes ring clearly across the fretboard․ Test the tremolo system for stability and tuning accuracy․ Ensure pickups are balanced and electronics function properly․ Make final adjustments if necessary to achieve optimal playability and tone consistency․
9․2 Addressing Common Setup Issues and Solutions
Common issues include string buzzing, high action, or uneven tone․ Check for fretboard unevenness or improper bridge alignment․ Adjust the truss rod for neck relief and ensure pickups are balanced․ For buzzing, raise string height slightly․ If tuning instability occurs, inspect tremolo springs and pivot points․ Lubricate nuts and bridges for smooth operation․ Addressing these issues ensures optimal performance and playability, resolving most setup-related problems effectively․