Purpose of the Junior Staying Fit Badge
The Junior Staying Fit Badge empowers girls to understand fitness‚ nutrition‚ and mental well-being. It guides them to develop lifelong healthy habits through fun‚ engaging activities.
Understanding the Importance of Fitness‚ Food‚ and Fun for a Healthy Lifestyle
Building a healthy lifestyle involves balancing fitness‚ nutrition‚ and enjoyment. Fitness helps strengthen the body‚ improving energy and overall well-being. Food provides the fuel needed for growth and activity‚ while fun ensures sustainability by making healthy choices enjoyable. Girls learn to prioritize physical activity‚ like yoga or dance‚ to stay active. They also explore meal planning and nutritious recipes to understand how food impacts energy levels. Incorporating fun activities ensures that healthy habits are maintained long-term. This balance fosters a positive relationship with health‚ empowering girls to make informed decisions for a strong‚ happy life.
Steps to Earn the Junior Staying Fit Badge
Earn the badge by completing five steps: start moving with exercises like yoga or dance‚ fuel your body with healthy food‚ manage stress‚ help your family stay fit‚ and research reliable health information.
Start Moving: Exploring Yoga‚ Cardio‚ Zumba‚ and Dance
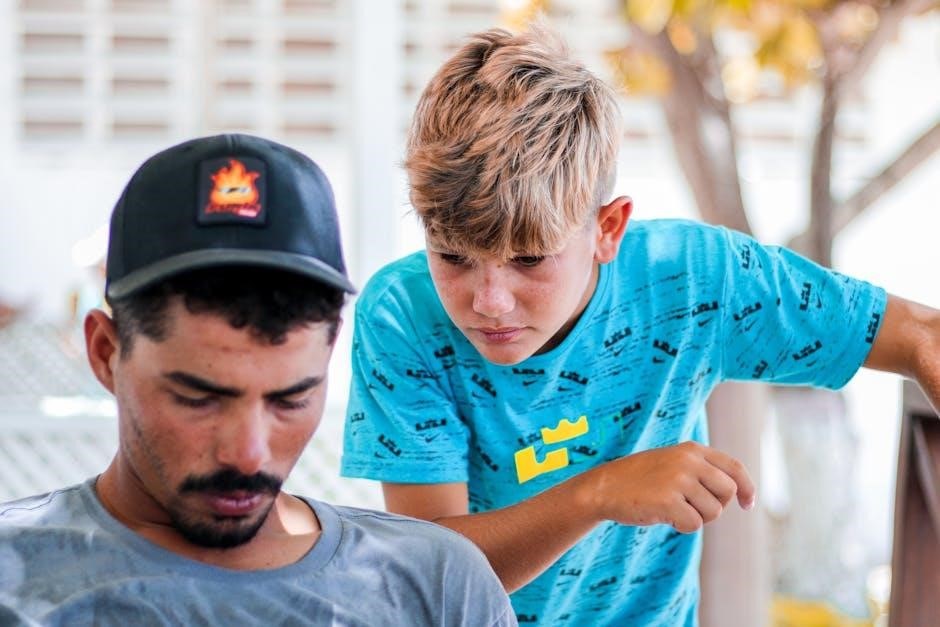
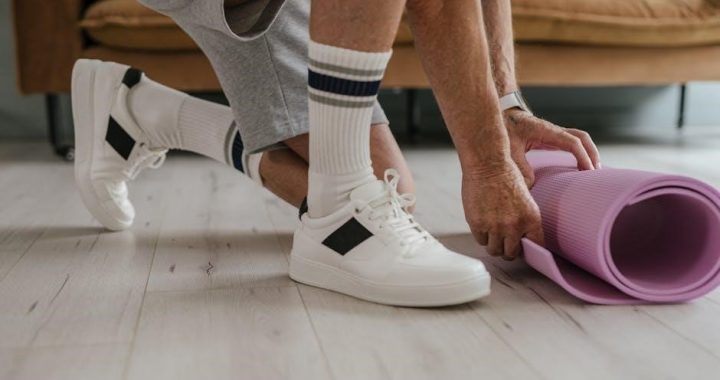
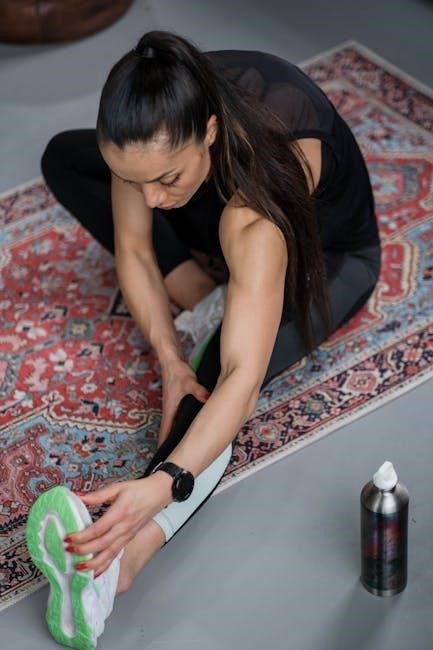
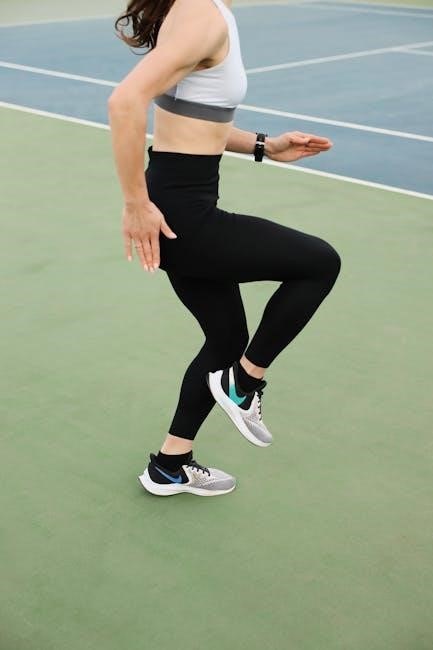
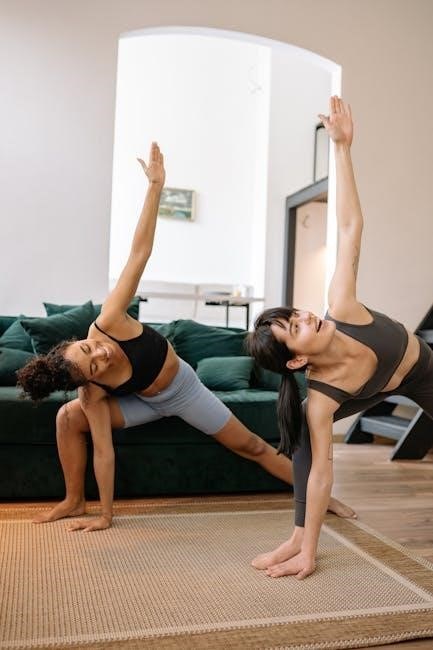
Engage in physical activities that make fitness fun and accessible; Explore yoga for flexibility and mindfulness‚ cardio for heart health‚ Zumba for energy‚ and dance for creativity. These exercises promote strength‚ coordination‚ and joy. Encourage girls to try new moves‚ set personal fitness goals‚ and track progress. Incorporate family and friends to make workouts social and motivating. Activities like creating a playlist or leading a routine foster confidence and teamwork. Emphasize consistency‚ aiming for at least 60 minutes of moderate exercise weekly; Celebrate milestones‚ no matter how small‚ to build a lifelong commitment to staying active and healthy. This step helps girls discover exercises they enjoy‚ making physical activity a sustainable part of their lifestyle.
Keep Your Fit Body Fueled: The Role of Healthy Nutrition
Healthy nutrition is essential for maintaining energy and supporting an active lifestyle. Focus on balanced meals rich in fruits‚ vegetables‚ whole grains‚ lean proteins‚ and healthy fats. Encourage girls to plan and prepare nutritious snacks and meals‚ teaching them to make informed food choices. Discuss the importance of hydration and limiting sugary or processed foods. Activities might include creating a grocery list‚ cooking a healthy meal‚ or exploring recipes together. This step helps girls understand how food impacts their bodies and energy levels‚ fostering a lifelong appreciation for wholesome eating. By involving families‚ girls can share their knowledge and promote healthier habits at home‚ creating a supportive environment for sustainable nutrition practices.
Know How to Stress Less: Mind-Body Exercises and Relaxation Techniques
Stress management is crucial for overall well-being. Introduce girls to mind-body exercises like deep breathing‚ meditation‚ and yoga to help them relax. Activities such as animal yoga encourage creativity while reducing stress. Teach techniques like progressive muscle relaxation and guided imagery to promote calm. Encourage girls to identify personal stress triggers and develop coping strategies. Creating a stress-free zone at home‚ filled with comforting items‚ can provide a safe space for relaxation. Discuss the importance of mindfulness and self-care routines‚ such as journaling or listening to soothing music. These practices help girls manage stress effectively‚ fostering emotional resilience and a positive mindset. By mastering these techniques‚ they can maintain mental balance and overall health.
Help Your Family Stay Fit: Teaching Healthy Habits to Loved Ones
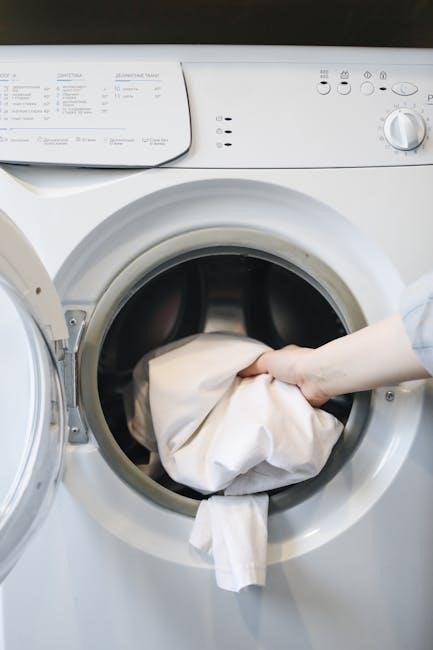
Encourage girls to share their knowledge of healthy habits with their families. They can organize fun fitness activities‚ like family walks‚ bike rides‚ or yoga sessions. Teach them to plan and prepare nutritious meals together‚ fostering teamwork and healthy eating. Girls can also lead stretching routines or dance parties to make exercise enjoyable for everyone. By involving their families‚ girls promote a culture of wellness and support. Suggest activities like creating a family fitness goal chart or hosting a game night with active games. This step empowers girls to become role models‚ inspiring their loved ones to adopt healthier lifestyles. It also strengthens family bonds while prioritizing physical and mental well-being for all.
Get the Truth About Health: Researching and Verifying Reliable Health Information
This step helps girls develop critical thinking skills by teaching them to evaluate health information. They learn to distinguish between credible sources and misinformation. Girls work with a trusted adult to research a health-related question online‚ reviewing at least three sources. They identify websites reviewed by medical professionals and discuss why these are more reliable. This activity promotes media literacy and encourages girls to make informed decisions about their health. By understanding how to verify information‚ girls become confident in seeking accurate answers to health questions. This skill is essential for maintaining a healthy lifestyle and avoiding myths or false claims. It empowers them to take charge of their well-being and share reliable knowledge with others.
The Importance of Physical Activity for Juniors
Physical activity strengthens the body‚ boosts mood‚ and enhances energy levels‚ promoting overall wellness and long-term health for juniors through consistent‚ enjoyable exercise routines.
How Exercise Contributes to Overall Wellness and Strength
Exercise plays a vital role in enhancing physical strength‚ improving mental health‚ and boosting overall wellness for juniors. Regular physical activity helps build strong muscles and bones‚ ensuring long-term health. It also improves cardiovascular health‚ increasing energy levels and stamina. Exercise promotes better sleep quality‚ which is essential for growth and recovery. Mentally‚ it reduces stress and anxiety‚ fostering a positive mindset. By incorporating exercise into daily routines‚ juniors develop healthy habits that contribute to lifelong wellness. Physical activity also enhances coordination and balance‚ reducing the risk of injuries. It encourages teamwork and social interaction when done in groups‚ further promoting emotional well-being. Overall‚ exercise is a cornerstone of a healthy lifestyle‚ empowering juniors to thrive physically‚ mentally‚ and socially. Through consistent effort‚ they build resilience and confidence‚ setting a strong foundation for future success.
Healthy Eating Habits for Staying Fit
Healthy eating involves meal planning‚ balanced nutrition‚ and understanding how food impacts energy levels. Nutritious recipes and mindful choices fuel the body for optimal fitness and daily activities.
Meal Planning‚ Nutritious Recipes‚ and the Impact of Food on Energy Levels

Meal planning is a cornerstone of healthy eating‚ helping Juniors make balanced choices that fuel their bodies. By creating a weekly plan‚ girls can ensure they consume a variety of nutrient-rich foods‚ including fruits‚ vegetables‚ lean proteins‚ and whole grains. Nutritious recipes‚ such as overnight oats or veggie wraps‚ provide delicious and easy-to-prepare options that support energy levels throughout the day. Understanding how food impacts energy is key; for example‚ complex carbohydrates release energy slowly‚ while sugary snacks cause quick spikes and crashes. Girls learn to prepare meals that sustain their energy‚ enabling them to stay active and focused. This skill encourages lifelong healthy eating habits and helps them teach others about the importance of nourishing meals.
Managing Stress and Maintaining Mental Health
Girls learn stress-reduction techniques like animal yoga‚ breathing exercises‚ and creating a stress-free zone. These activities promote mental well-being and help maintain a healthy‚ balanced lifestyle.
Activities Such as Animal Yoga‚ Breathing Exercises‚ and Creating a Stress-Free Zone
Animal yoga introduces fun and relaxing poses inspired by animals‚ helping girls connect with nature and calm their minds. Breathing exercises teach girls to focus on their breath‚ reducing stress and promoting relaxation. Creating a stress-free zone encourages girls to design a peaceful space with calming colors‚ soft textures‚ and soothing sounds. These activities help girls develop healthy coping mechanisms and maintain mental well-being. By practicing these techniques‚ girls learn to manage stress effectively and cultivate a positive mindset. These exercises are designed to be enjoyable and accessible‚ making mental health maintenance a fun and engaging process for Junior Girl Scouts.