
Safety Precautions for KitchenAid Mixer Repair
Always unplug the mixer before starting repairs to avoid electrical shocks. Wear protective gloves and eyewear. Use only genuine KitchenAid parts to ensure safety and compatibility. Follow the official service manual instructions carefully to prevent accidents and maintain appliance integrity.
1.1 General Safety Guidelines
Always unplug the mixer before starting repairs to prevent electrical shocks. Wear protective gloves and eyewear. Ensure the workspace is clean and well-lit. Avoid wearing loose clothing that could get caught in moving parts. Use only genuine KitchenAid parts to maintain safety and performance. Follow the official service manual instructions carefully to avoid accidents and ensure proper repair. Keep children and pets away from the work area.
1.2 Electrical Safety Measures
Always unplug the mixer from the power source before starting any repair to avoid electrical shocks. Use a multimeter to ensure no live currents are present. Never attempt repairs on live circuits or while the mixer is operational. Follow the official service manual for specific electrical safety procedures. Use only authorized parts to maintain electrical integrity and safety standards.
Locating the KitchenAid Mixer Repair Manual
Visit the official KitchenAid website or authorized service centers to download the repair manual for your specific mixer model. Ensure authenticity for accurate repair guidance.
2.1 Official Sources for Manuals
The KitchenAid website provides authentic repair manuals for specific mixer models. Visit the Manuals and Literature page, enter your appliance’s model number, and download the corresponding manual. Authorized service centers also offer genuine manuals, ensuring compatibility and accuracy for your repairs. This guarantees access to detailed instructions and parts lists for safe and effective maintenance.
2.2 Understanding the Manual Structure
KitchenAid repair manuals are structured to guide users through diagnostics, disassembly, and repair. They begin with safety precautions, followed by troubleshooting sections and detailed repair procedures. Manuals include parts lists, diagrams, and step-by-step instructions for disassembling and reassembling components like the gear case and motor. This comprehensive format ensures clarity and ease of navigation for both professionals and DIY enthusiasts.

Troubleshooting Common Issues
Troubleshooting common issues starts with identifying symptoms like the mixer not turning on, overheating, or making unusual noises. Refer to the manual for diagnostic solutions.
3.1 Identifying Common Problems
Common issues with KitchenAid mixers include failure to turn on, overheating, or unusual noises. Check for power supply problems, worn gears, or faulty motor components. Refer to the manual for troubleshooting guides to diagnose symptoms accurately and determine the root cause before proceeding with repairs.
3.2 Diagnostic Techniques
Consult the service manual for step-by-step diagnostic guides. Listen for unusual noises or vibrations, which may indicate worn gears or motor issues. Check power supply and electrical connections. Perform a visual inspection for damage or wear on belts and components. Use the troubleshooting section to isolate problems and test functionality before disassembling the mixer.
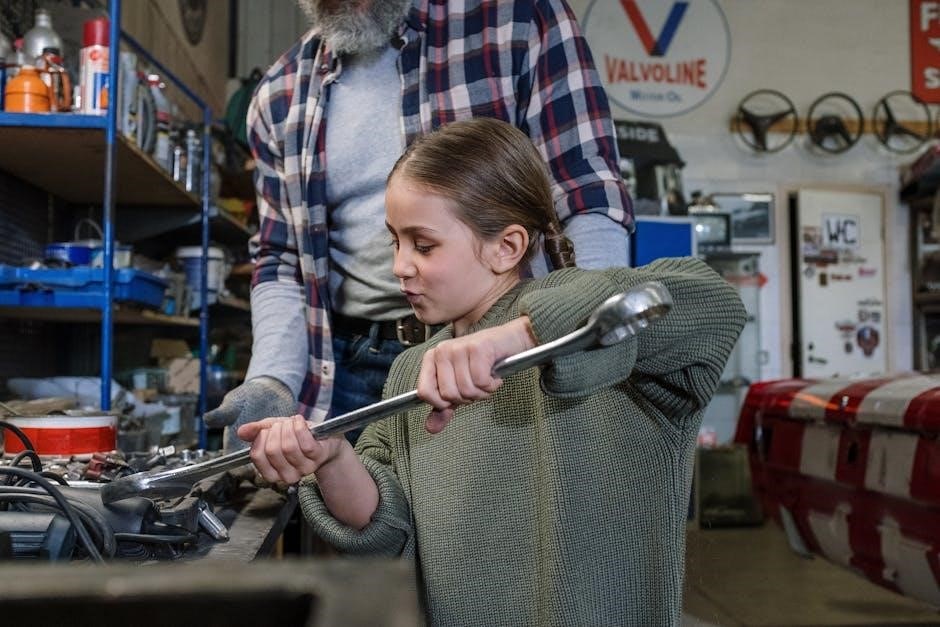
Disassembling the KitchenAid Stand Mixer
Disassembly requires removing screws and detaching the planetary and motor housing. Always refer to the service manual for specific instructions and safety precautions during disassembly.
4.1 Tools and Equipment Needed
Essential tools include a screwdriver set, Allen wrench, and torque driver for removing screws and bolts. A plastic scraper may be needed for old or stuck parts. Safety gear like gloves and goggles is recommended. Use a workbench or stable surface for disassembly. Ensure all tools are compatible with KitchenAid mixer components to avoid damage during repair.
4.2 Step-by-Step Disassembly Process
Start by removing the top cover screws using a torque driver. Gently lift the cover to access internal components. Next, detach the planetary gear assembly by unscrewing its mounting clips. Carefully disconnect the motor wires and remove the gear case bolts. Use a screwdriver to separate the housing sections. Follow the service manual for precise steps to avoid damaging critical parts during disassembly.

Repairing Key Components
Inspect and replace worn planetary gears, motor brushes, and seals. Clean or replace the gear case lubricant. Ensure all parts are genuine and properly aligned for optimal performance.
5.1 Gear Case Repair
Inspect the gear case for wear or damage. Clean old lubricant and replace with KitchenAid-approved grease. Ensure gears are properly aligned and secured. Replace any worn or damaged gears with genuine parts to maintain smooth operation and prevent further damage. Always follow the service manual instructions for precise disassembly and reassembly of the gear case components.
5.2 Motor Maintenance
Regularly inspect the motor for signs of overheating or wear. Clean dust and debris from vents to ensure proper cooling. Lubricate internal components as specified in the service manual. Replace worn brushes or bearings promptly to prevent motor failure. Always use genuine KitchenAid parts to maintain optimal performance and extend the mixer’s lifespan. Follow diagnostic steps to address unusual noises or vibrations.
5.3 Planetary Gear Replacement
Replace the planetary gear with a genuine KitchenAid part to ensure compatibility and longevity. Follow the service manual’s instructions for proper disassembly and installation. Lubricate the gear system as specified to maintain smooth operation. Ensure all components are securely tightened to avoid misalignment. Regular maintenance can prevent wear and tear, extending the mixer’s lifespan.

Reassembling the Mixer
Reattach components in reverse order of disassembly, ensuring all parts are securely tightened. Apply recommended lubrication to moving parts. Align gears precisely for smooth operation. Reconnect electrical components carefully to avoid damage. After reassembly, test the mixer at low speed to ensure proper function and address any issues promptly.
6.1 Reassembly Steps
Begin by reattaching the planetary gear to the mixer’s motor housing, ensuring proper alignment. Reinstall the gear case cover and tighten all screws securely. Replace the mixing bowl and beaters, ensuring they fit snugly. Reconnect any electrical components, such as speed control switches, carefully to avoid damage. Finally, test the mixer at a low speed to confirm smooth operation and address any issues promptly.
6.2 Testing the Mixer After Repair
After reassembly, test the mixer by plugging it in and starting at the lowest speed setting. Monitor its operation for unusual noises or vibrations. Gradually increase the speed to ensure smooth performance. Test with a small batch of ingredients to confirm proper mixing functionality. If any issues arise, revisit the repair steps to identify and correct potential problems.
Authorized Service Centers and Support
Contacting authorized KitchenAid service centers ensures genuine parts and expert repair. Visit the official KitchenAid website or call customer support to locate certified technicians near you for reliable assistance.
7.1 Contacting KitchenAid Service Centers
To contact KitchenAid service centers, visit their official website and navigate to the “Manuals and Literature” page for repair resources. Call customer support or use the online service locator to find certified technicians. Ensure to register your product and schedule service through authorized channels for genuine parts and expert assistance.
7.2 Benefits of Using Official Support
Using official KitchenAid support ensures access to genuine parts and expert technicians. It guarantees repairs meet factory standards, maintaining warranty validity and appliance performance. Official service centers provide reliable diagnostics, reducing risks of further damage. This support also offers peace of mind with trusted solutions, ensuring your mixer operates safely and efficiently for years to come.

DIY vs. Professional Repair
DIY repair is cost-effective for minor issues, while professional expertise ensures safety and proper long-term mixer functionality for complex problems and efficiency.
8.1 When to Choose DIY Repair
Opt for DIY repair when dealing with minor issues like loose parts or basic cleaning. Use official manuals for guidance and ensure you have the necessary tools. DIY is cost-effective for simple fixes, allowing you to maintain your mixer’s performance without professional fees. However, always prioritize safety and avoid complex repairs beyond your expertise.
8.2 When Professional Help is Recommended
Consult a professional for complex issues like motor failure, gear damage, or electrical malfunctions. These repairs require specialized tools and expertise. Authorized service centers ensure compliance with safety standards and warranty terms. Avoid risking your safety or causing further damage by attempting advanced repairs without proper training or experience. Professional help guarantees reliable and long-lasting solutions for your KitchenAid mixer.
Preventative Maintenance Tips
Regular cleaning after each use prevents residue buildup. Lubricate gears periodically and check for wear. Schedule routine maintenance to ensure optimal performance and longevity of your KitchenAid mixer.
9.1 Regular Cleaning and Lubrication
Regularly clean the mixer’s bowl, beaters, and exterior with a damp cloth. Lubricate the gear system every 50 hours of use to prevent friction. Avoid harsh chemicals and always dry the mixer thoroughly. Proper maintenance ensures smooth operation and extends the lifespan of your KitchenAid mixer. Use only KitchenAid-approved lubricants for optimal performance and safety.
9.2 Scheduling Routine Maintenance
Schedule routine maintenance every 6-12 months or after heavy use. Check the gear system, motor, and belts for wear. Replace worn parts promptly to prevent further damage. Planetary gears should be inspected annually. Regular maintenance ensures the mixer runs efficiently and reduces the need for costly repairs. Keep a maintenance log for tracking and reminders.
Successful repair and maintenance require following official guidelines and using genuine parts. For further assistance, visit KitchenAid’s official website or authorized service centers. Additional resources include community forums and repair specialists like Mr. Mixer, ensuring your appliance lasts for years.
10.1 Final Tips for Successful Repair
Always refer to the official KitchenAid manual for precise instructions. Use genuine parts to ensure compatibility and longevity. After repairs, test the mixer at low speed to confirm functionality. Regular maintenance, like lubricating gears, prevents future issues. For complex problems, consider consulting authorized service centers or experienced technicians to guarantee safety and effectiveness.
10.2 Additional Resources and Support
Visit the official KitchenAid website for downloadable repair manuals, parts lists, and troubleshooting guides. Engage with online communities and forums for DIY repair advice. Contact authorized service centers for professional assistance. Utilize KitchenAid’s customer support for model-specific help. Check out tutorial videos and repair blogs for step-by-step solutions and expert tips.